Tornado Large-Cone Tungsten Carbide Nail Drill Bit - carbide drill bit
This article contains affiliate links. If you purchase from these links, I may earn a small commission at no additional cost to you. Visit my site policies for more information.
To use a keyed chuck, you insert the bit making sure it’s centered in the jaws. Then you turn the key clockwise to tighten the chuck and hold the bit in place.
You’ll need to open your chuck’s jaws if they’re closed, not opened wide enough to insert the bit, or if there’s a bit already in the chuck.
You can remove the bit by reversing these steps. Please use caution when removing drill bits as they become hot with use.
With this easy-to-follow guide you’ll be able to confidently remove and insert bits in your drill, so you can tackle your next DIY project like a pro. Let’s get started!
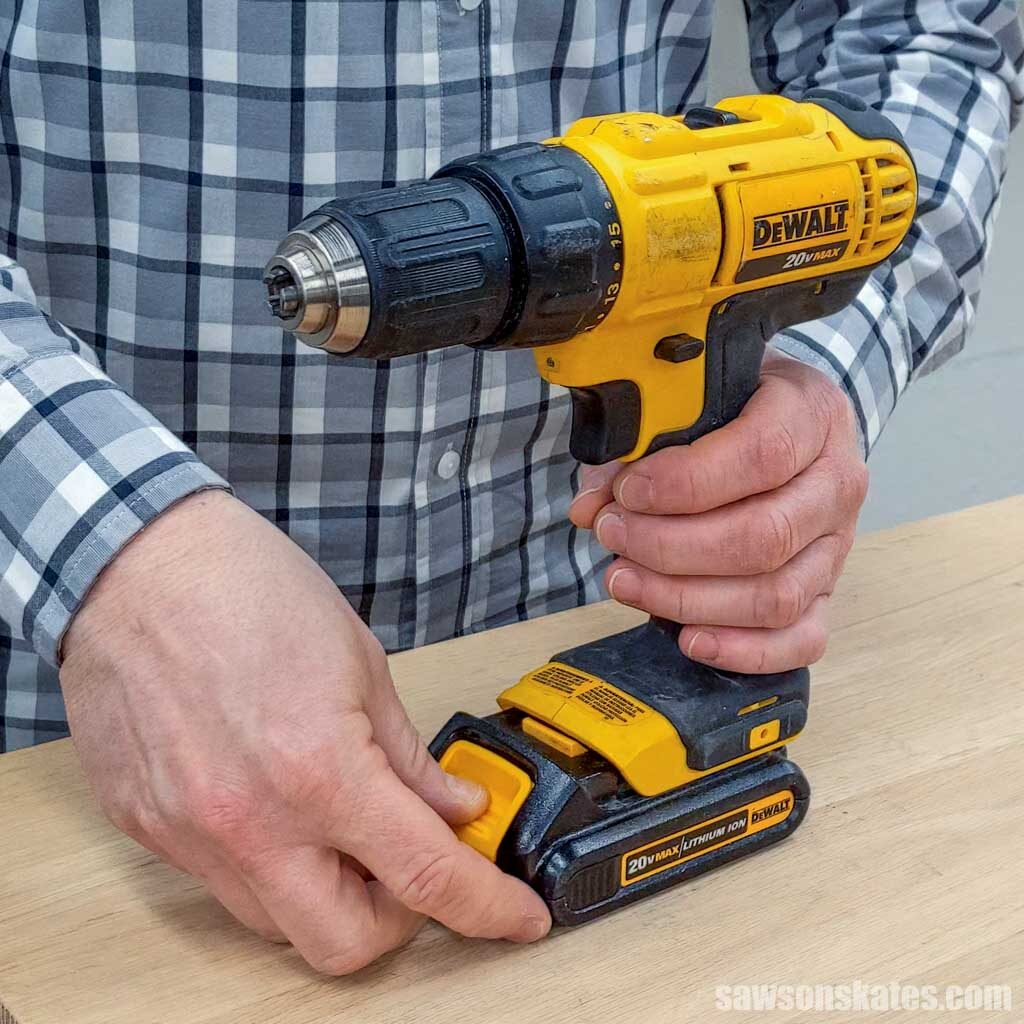
My cordless drill has a one-part keyless chuck. To use this style, you hold the drill’s body with one hand and use the other to turn the chuck clockwise to tighten and turn the chuck counterclockwise to loosen.
Before you change a bit, disconnect your drill’s power by either removing the battery or unplugging it from the electrical outlet.
If there’s already a bit in your drill, you can take it out now. If the bit won’t come out, widen the chuck’s jaws until you can remove it.
The drawback to a keyed chuck is if you lose the key, you won’t be able to change the bit. Anyone that has ever owned a drill with a keyed chuck understands the panic when you’ve misplaced the key!
Need help changing a drill bit? I’ll guide you through it step-by-step so you can change any bit, no matter what drill you have!
Once you’ve positioned the bit correctly, insert the chuck key into the side of the chuck and rotate it clockwise to close the jaws tightly around the bit.
When it’s time to remove the bit, simply reverse these steps. Please use caution when removing drill bits as they become hot with use.
Understanding how to put a bit into a drill is an essential skill for any DIYer. With this easy-to-follow guide, you’ll be able to confidently remove and insert bits in your drill no matter what kind of chuck it has.
To prevent potential accidents, disconnect your drill’s power source by removing the battery or unplugging it from the electrical outlet before changing the bit.
A chuck has adjustable jaws that, when you turn it in one direction, tighten around the bit, and when you turn it in the opposite direction, it loosens so you can remove or insert a new bit.
Saws on Skates® is a participant in the Amazon Services LLC Associates Program, an affiliate advertising program designed to provide a means for sites to earn advertising fees by advertising and linking to Amazon.com. Read the full disclosure here.
If you already have a bit installed in your drill, you can remove it now. If it refuses to come out, widen the chuck’s jaws until you can remove it.

Content from Saws on Skates® may not be reproduced or used in any manner whatsoever without the express written permission of the author.
Grasp the rear portion of the two-part chuck (near the drill’s body) and rotate the front piece counterclockwise with your other hand to open the jaws.
Driver bits such as Phillips and slotted are used to drive screws and other fasteners, while drill bits make holes in materials like wood, metal, and plastic. Commonly used drill bits include twist drill bits, spade bits, hole saws, Forstner bits, and countersink bits.
Occasionally drill bits can become wedged between two of the jaws, causing it to spin off-center and making it impossible to drill a hole or drive a screw. If this happens, open the chuck wider and center the bit in all three jaws.
Once your new bit is in place, you can plug in your drill or install the battery, and then you’re ready to drill or drive!
Power drills come with two types of chuck, keyed or keyless, while impact drivers have a different kind of chuck called a collet.
A keyed chuck requires a special tool called a chuck key to tighten and loosen its jaws. This tool usually looks like an L-shaped wrench with a handle on one end and teeth on the other that fits into the side of your drill’s chuck.
My corded drill has a two-part keyless chuck. To use this style, you hold the rear piece of the chuck closest to the drill’s body and turn the front part. Turning clockwise tightens the chuck while turning clockwise loosens it.
Drill bits can sometimes get caught between two of the three jaws, which will cause the bit to spin off-center, making it impossible to drill holes or drive screws. If your bit is misaligned, open the chuck and reposition it, so it’s centered in all three jaws.
If your chuck’s jaws are closed, not opened wide enough to insert a new bit, or if there’s a bit already installed, you’ll need to open them up.
Have you ever read directions that said, “chuck the bit in your drill?” I know it may sound strange, but chucking a bit simply means inserting it in your drill.
A drill chuck often referred to simply as a chuck, is a clamp that holds a bit in place at the end of a drill. The chuck is powered by the drill’s motor and rotates as you turn the drill on and off.Related: How to Use a Drill (Tips & Techniques)
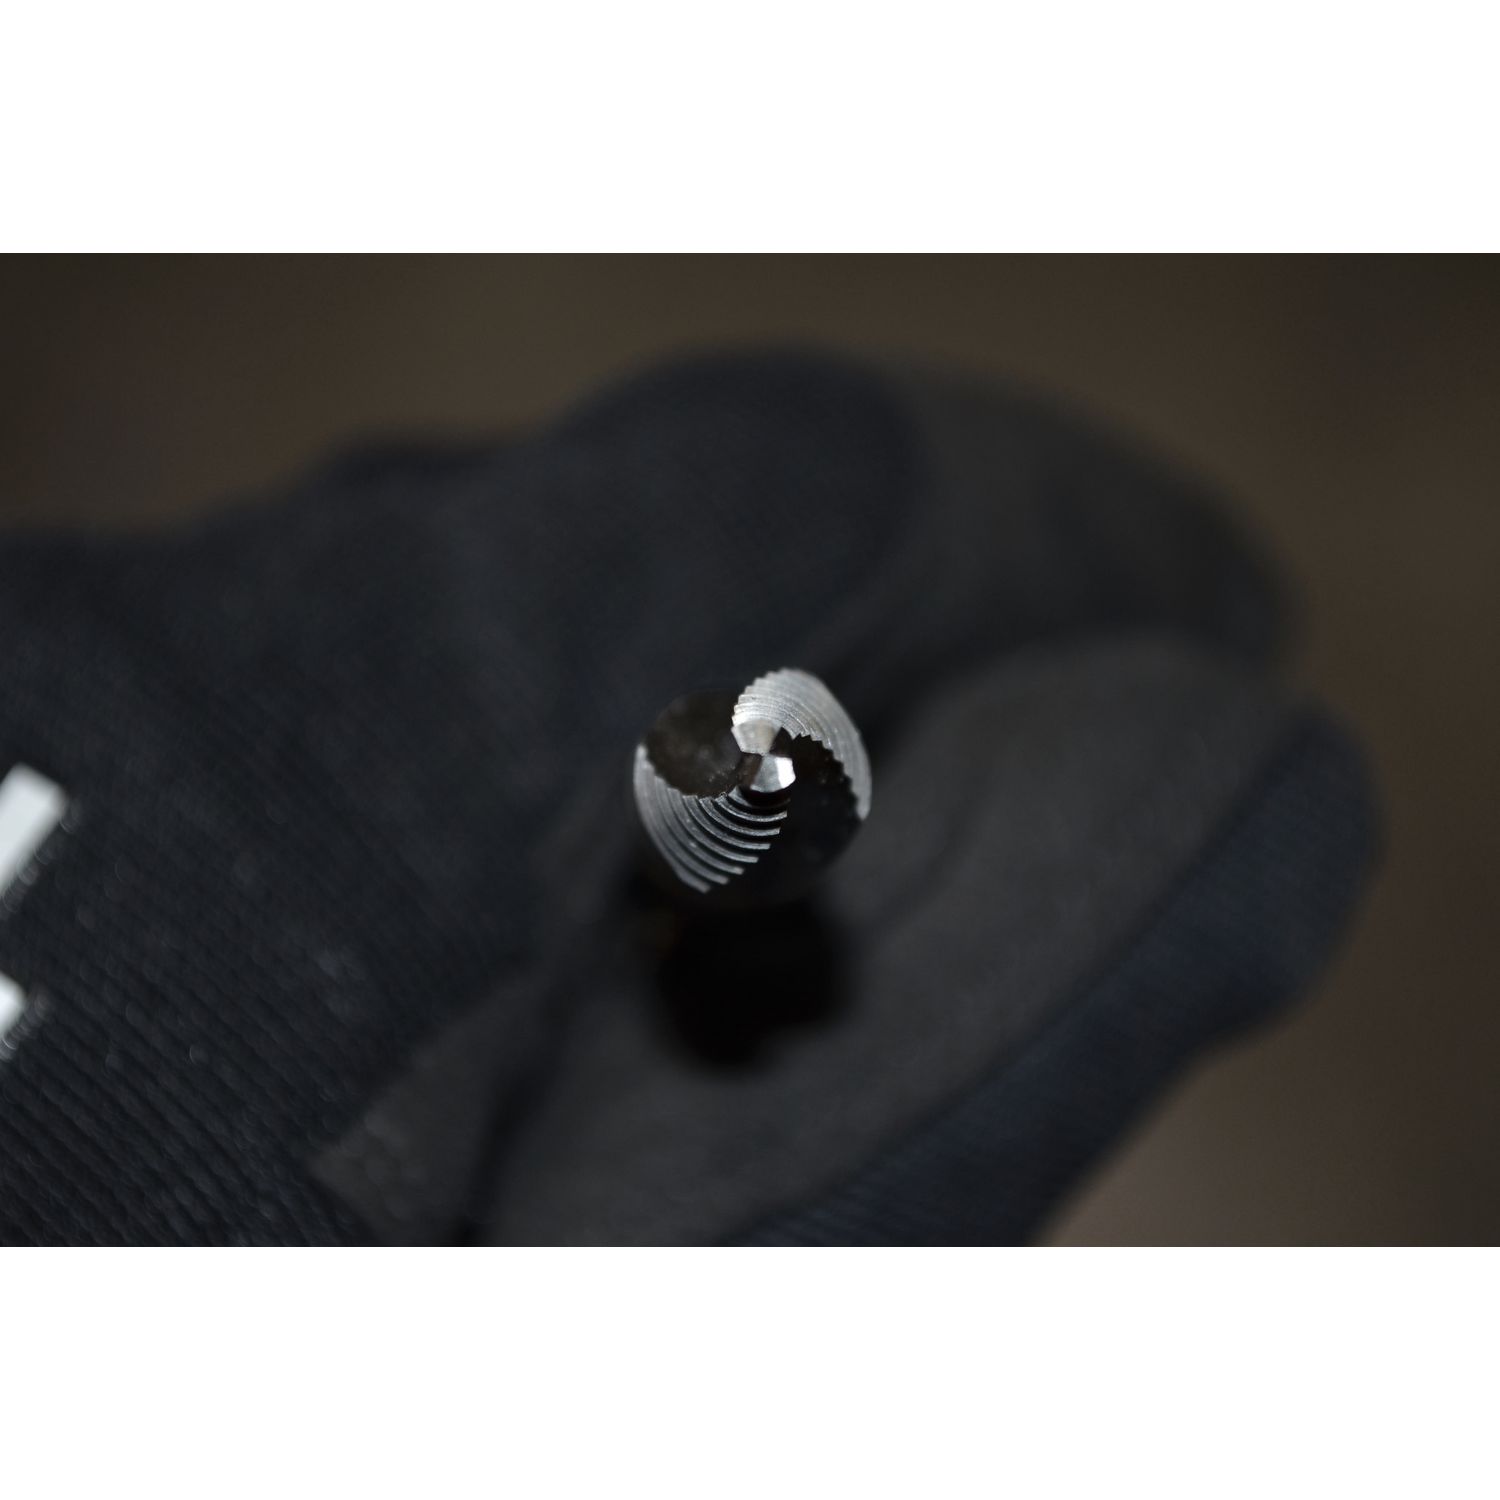
With its adjustable jaws, a drill’s chuck allows you to change between bits of different shapes and sizes, such as round or hexagonal shank. The shank is the smooth part of the bit inserted into the chuck.
Thank you for stopping by. If you enjoyed this tutorial, would you please take a moment and pin it to Pinterest? I’d really appreciate it!
Unlike drills, impact drivers don’t have adjustable jaws; instead, they have a collet, a sleeve, or a band that clamps the bit in place.
Unsure how to put a drill bit in your drill? I’ve got you covered no matter what kind you have! The same methods apply, whether it’s a DeWALT, Black and Decker, Milwaukee, Makita, Ryobi, Craftsman, or any other brand.


 18581906093