
Harvey Tool | Cutting Tools Supplier at Triumph Canada - harvey woodworking canada
HelicalChamfer Mill
Although CAD programs differ in how they look and function, they share many similarities. First, they provide a set of drawing tools and a drawing area [Photo A] with which you create your design using lines and shapes. Plus, they have editing tools for modifying and customizing your design. Simply put, CAD drawing tools mimic what you do with a pencil, eraser, ruler, and protractor.
is the author of the book "CNC Router Essentials." He also hosts CNC webinars and VCarve design classes at cncrouteressentials.com and in person at Marc Adams School of Woodworking.
Harvey Tool
Of course, everything magical comes with its own arcane vocabulary. Let's start with those three letters: CNC stands for computer numerical control. That means a computer-centric workflow unfamiliar to most woodworkers, and operations far different from other woodworking machines.
Like any emerging technology, CNC routers continue to improve and come down in price. No wonder these seemingly magical machines are finding their way into more home woodshops.
Launched in 1984, WOOD® magazine is the world's most trusted woodworking resource — a distinction we've earned by guaranteeing our readers' success in their woodworking shops. It is the mission of our staff to inspire and inform woodworkers at every stage of their journey by providing reliable and accurate project plans, woodworking techniques, and product reviews.
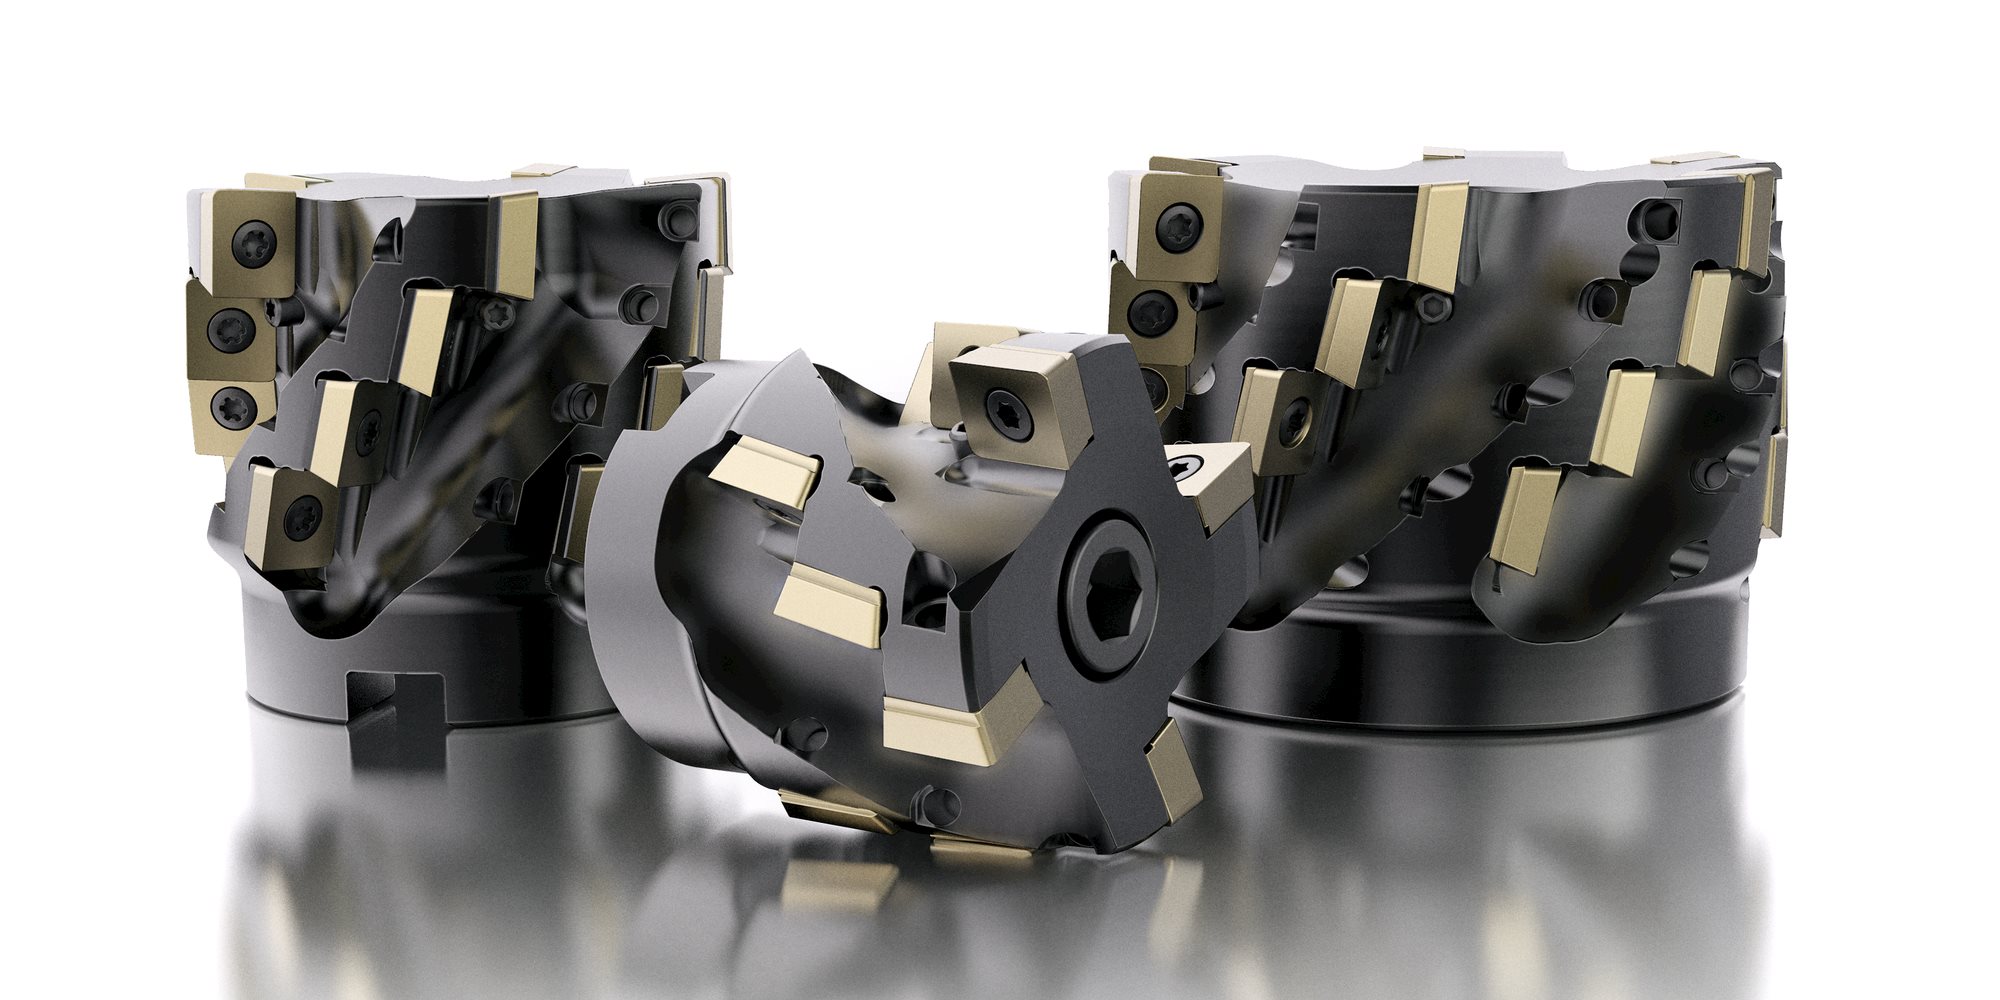
Helicalroughing End mill
Whether starting from scratch or other inspiration, such as a paper plan, you must convert your idea to a computer drawing using a computer-aided drawing (CAD) program. There are dozens of CAD programs ranging from basic to advanced and priced accordingly. Some common CAD programs used by CNC owners, in order of increasing complexity, include VCarve, SketchUp, and Fusion 360. Learning a CAD program requires time and a little patience, so take advantage of online or in-person training opportunities when and where available.
Creating toolpaths uses computer-aided machining (CAM) software [Photo C]. Some programs, such as VCarve and Fusion 360, combine both CAD and CAM into one program. SketchUp can only create CAD files, but VCarve or Fabber can import those CAD files to create the CAM file.
To load the g-code file into the computer control panel, simply open the file on your computer. To load a g-code file to the handheld control pendant, transfer the file to a USB drive, and plug it into the pendant.
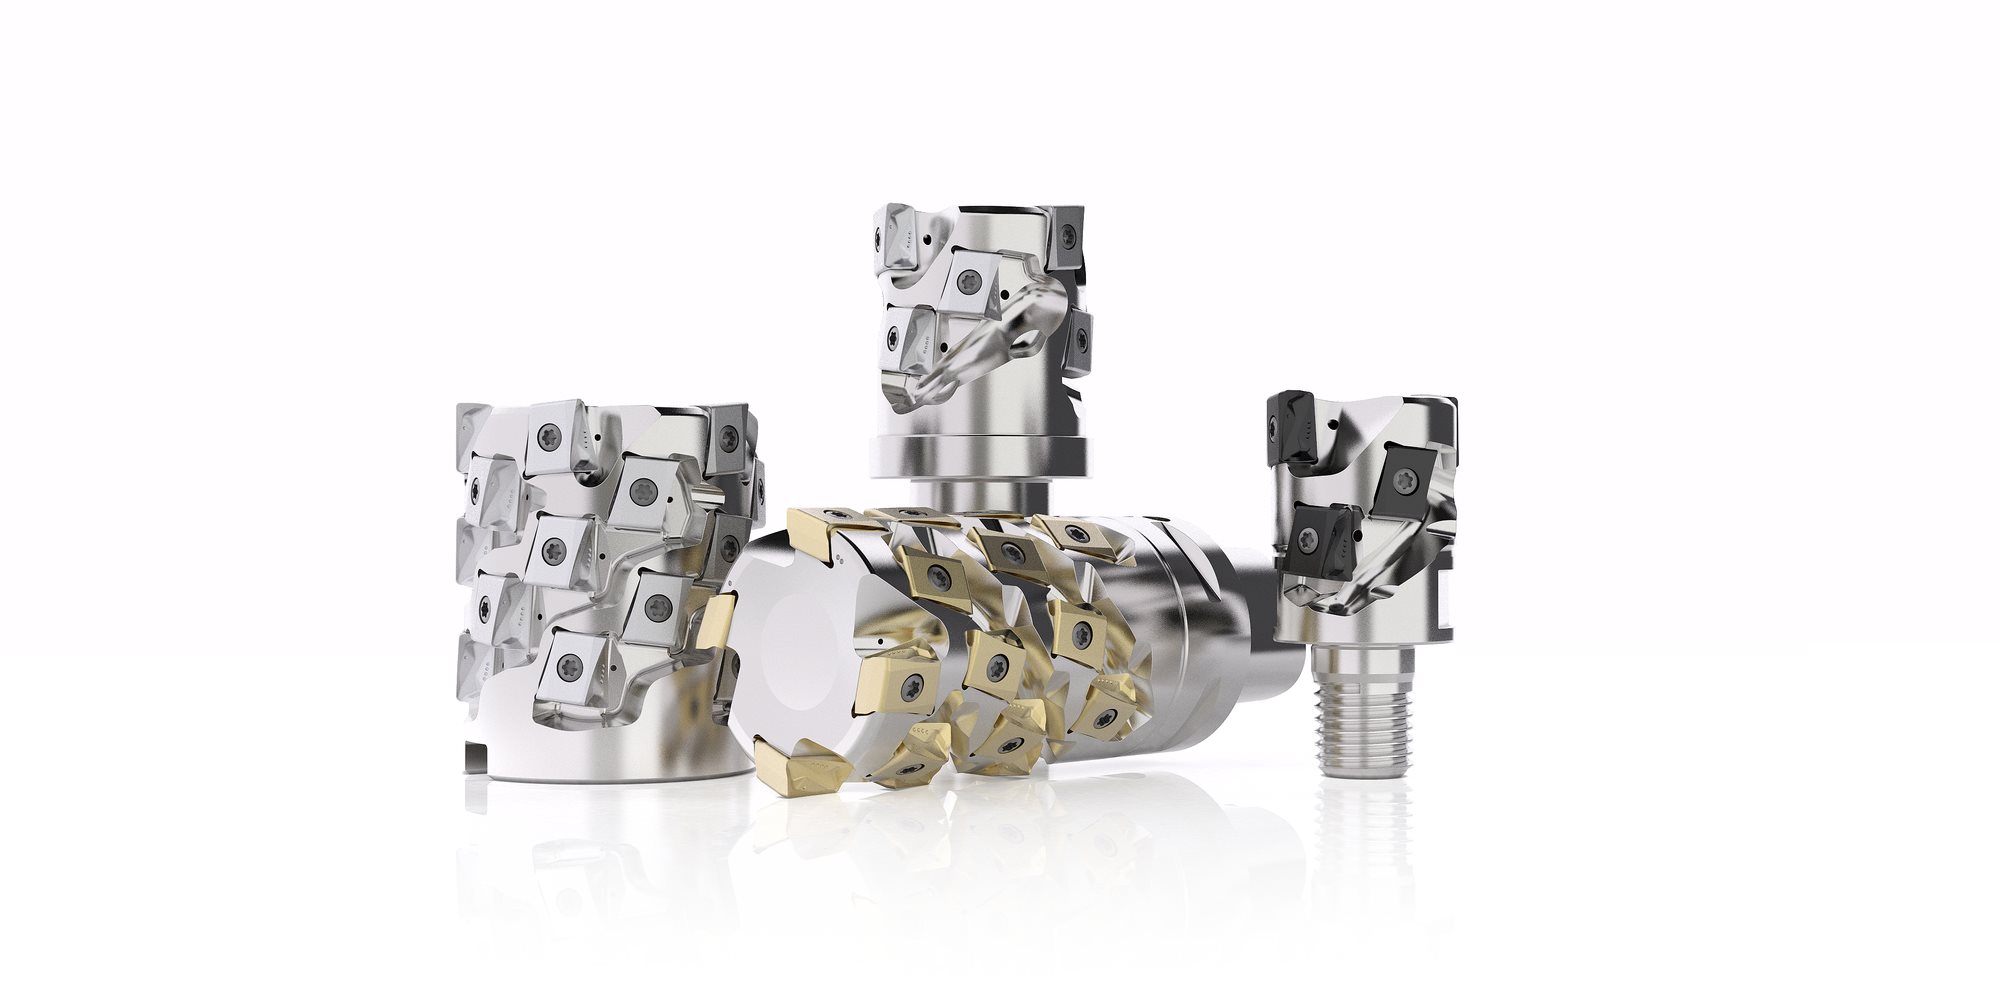
Helical48456
HelicalSolutions
After selecting and setting up your router bit(s) comes post-processing, which uses a small program or app called a post-processor, included with most CAM programs. Post-processing converts the router-bit toolpath information to a g-code file that tells the CNC where and how to move. Post processors are specific to CNC machines, so you must select from the menu the one made for your machine.
Most CNC machines can't (yet) see where you mounted your material, so you must tell the machine where the material rests in relation to the bit [Photo F]. Do this by calibrating, or zeroing, the X, Y, and Z axes using the control panel or pendant. The X, Y, and Z zero settings must match the settings you used in your CAD/CAM program. A corner or the center of the material serves as the typical X/Y zero/datum position.
The computer control panel [Photo D, above] displays a simulation of the cutting process and may include other features not found on a handheld control pendant. However, using the computer control panel exposes your computer to the dust and hazards in your shop. By comparison, the handheld control pendant [Photo E] puts all the essential functions at your fingertips without taking your computer into the shop.
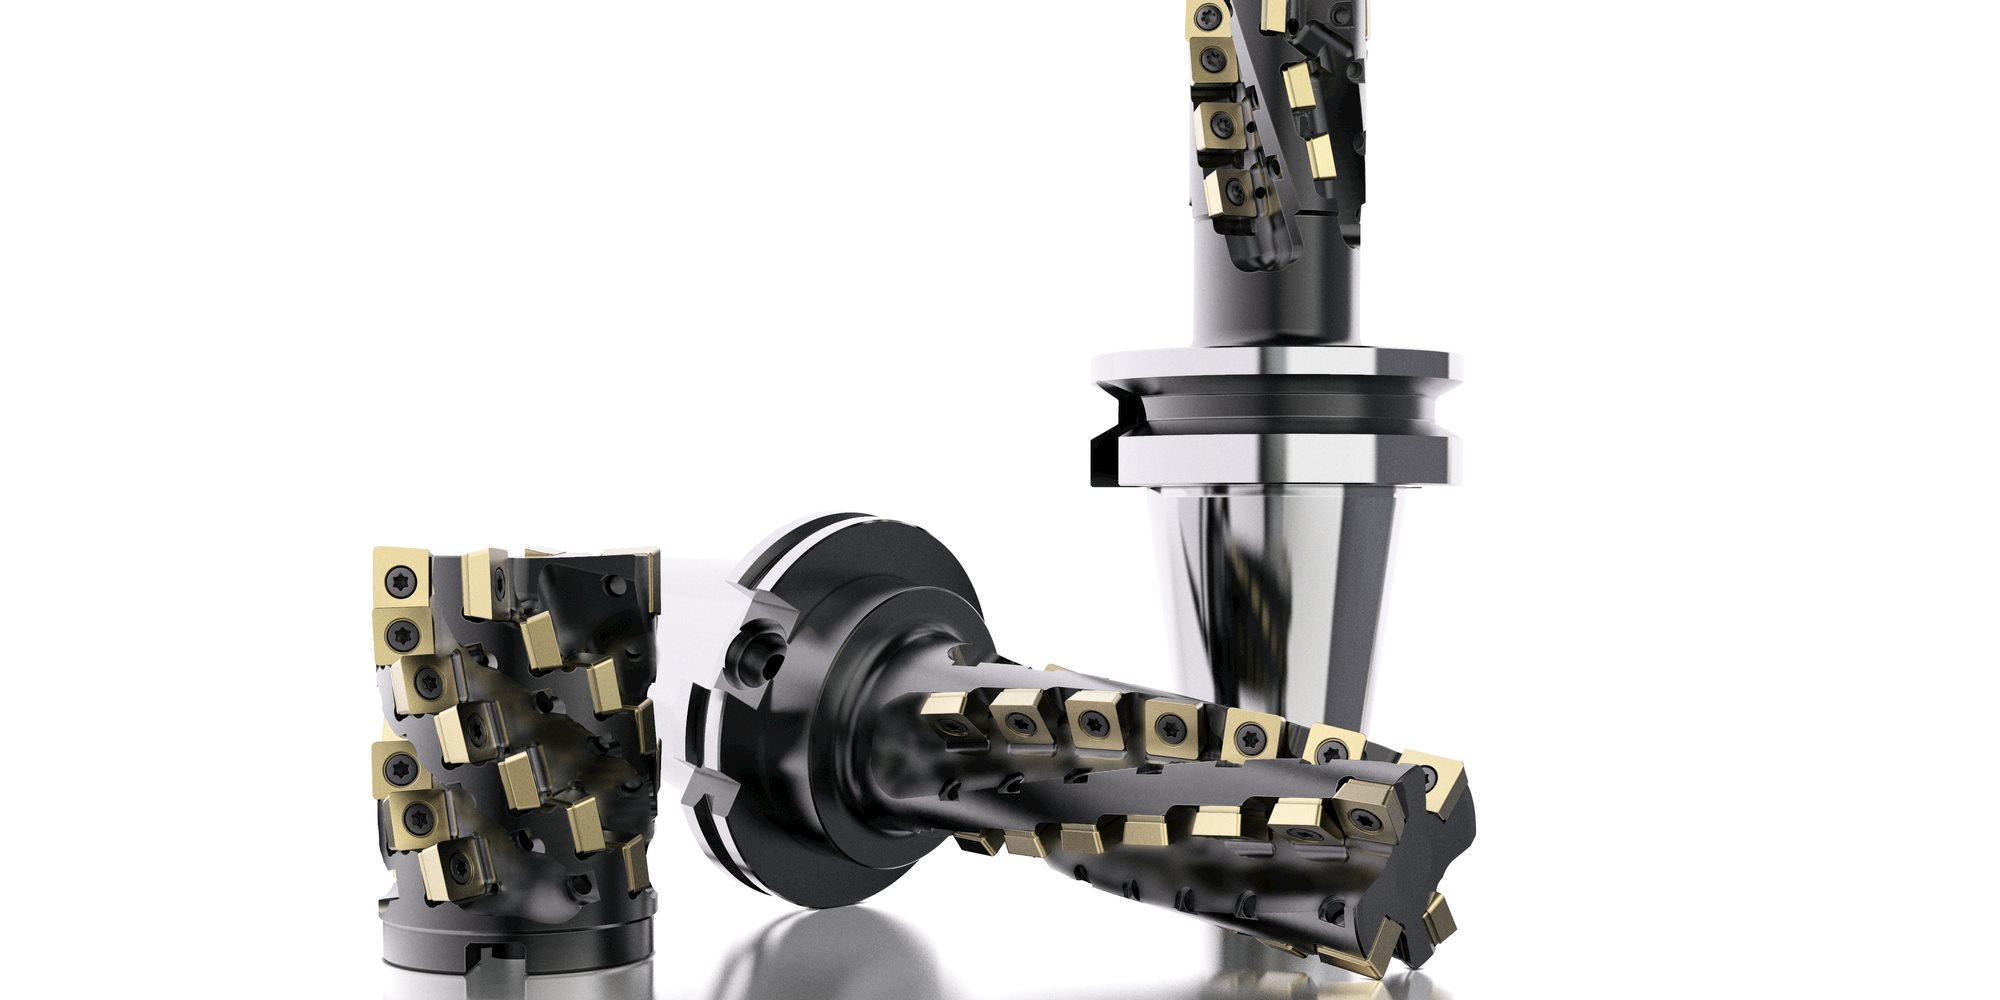
Helical34257
For starters, your project idea must first be converted to a computer drawing—no more working from just a napkin sketch or a paper plan. And once the CNC starts running, you mostly stand back and let it work—touching neither the machine nor your material during the cutting process. Although intriguing, things can turn exasperating when something goes wrong.
After perfecting your CAD drawing, you create toolpaths, assigning router bits to the different parts or lines in your drawing (i.e., a 1⁄4 " V-bit to rout the letters on a sign, and a 1⁄4 " straight bit to cut the profile out of the blank) [Photo B]. At this point, you'll also program several settings that determine how fast and aggressively each bit cuts. These settings directly affect cutting time, cut quality, and bit wear. There are formulas for calculating these settings, but finding an approach that balances bit wear and cutting speeds, while maintaining a good edge quality, also comes with experience.
All CNC projects start at the same place—as a computer drawing. You can create this drawing from scratch, purchase one from a CNC plan provider, download from among many free online plans, or import a photo and trace over it.
Prior to running the g-code file, secure your material to the machine table and calibrate the CNC to the material's location. Choices for securing the material include clamps, screws, double-faced tape, hot-melt glue, wedges, cams, and even vacuum. No single method works for all projects. Some methods work quickly, some prove more secure, some suit large parts, and others work for small parts, so use what fits your situation. Whichever one you pick, you must get two things right: First, the hold-down must prevent your material from shifting during the machining process. Second, the hold-down must not encroach on the bit's toolpath which could damage the router bit, machine, or project.
CNC workflow breaks down into four primary steps, each involving software. These steps may appear complex at first, with lots of settings and details to remember, but after working through the process a few times (and making a few mistakes) it becomes routine—and the creative possibilities open up. With practice, you'll master the finer points of using a CNC and expand your skills and project accomplishments.
Helicaltool Catalog
Next, load the toolpath/g-code file into the computer control panel software or handheld control pendant. Some CNC machines use only one of these methods, while others come equipped with both.
Once you have the g-code file loaded, material mounted, and the zero locations set for each axis, double-check your setup to make sure everything looks right. If everything checks out, press the RUN button and stand by while the CNC carries out your carefully planned project design.
The success or failure of a CNC project depends on how well you set up your CNC computer files, your material, and your machine before you press the RUN button. It all adds up to a different way of working, so understanding the basic workflow and terminology is a good place to start.


 0086-813-8127573