
How To Measure Inground Pool Radius Corners - how to measure a corner radius
If you’ve read this far, thank you! Thank you for being there for your students! (They need you more now than ever!) Thank you for investing a little time to think about tips for Geometry and finding the easiest way for your kids to learn Geometry. You are the best! Pat yourself on the back! You are doing amazing work in a challenging career!
Your teacher was adamant about the school supply list on the first day of school. But the supplies were soon left behind as the day-to-day routine and grind kicked in.
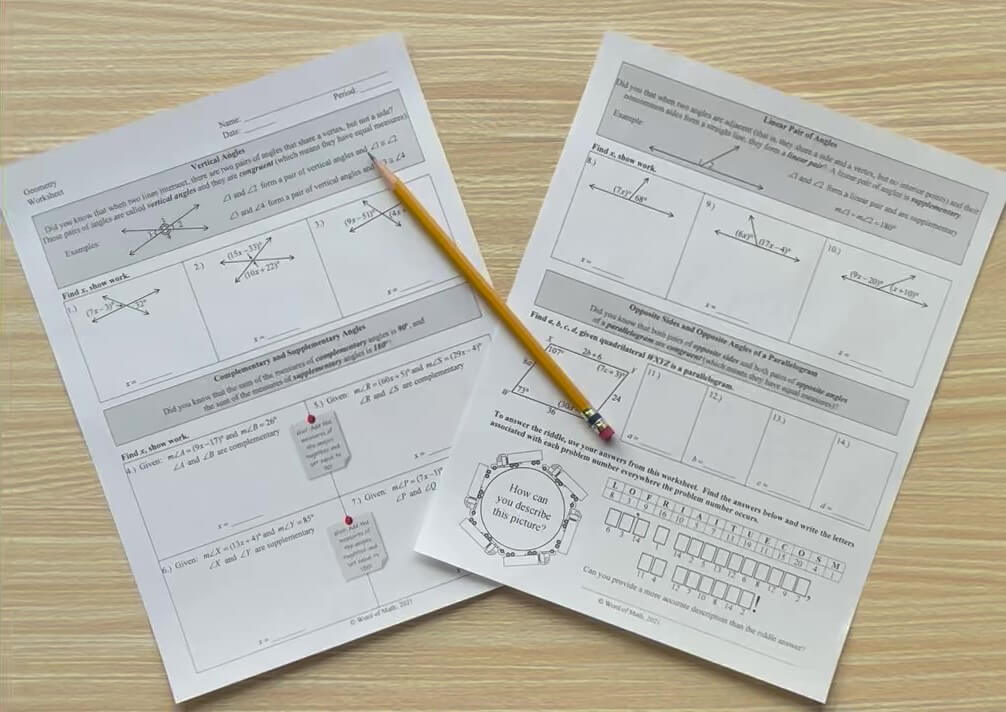
Take a look at the following two column proof. It has no color and therefore has the potential to lose your students’ attention and comprehension:
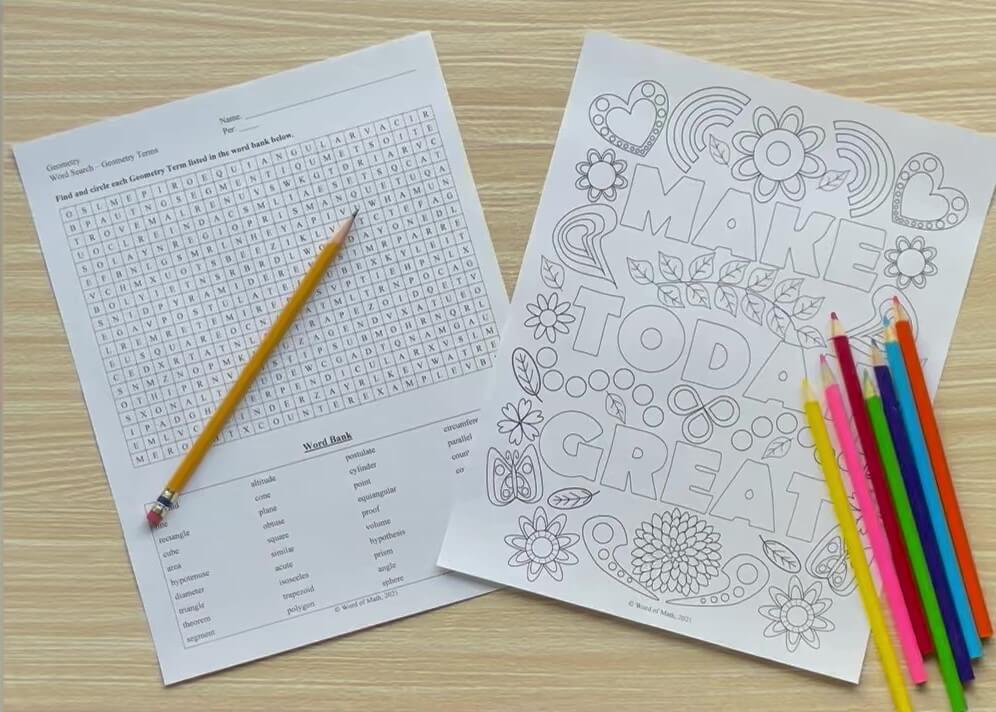
Are you looking for Geometry resources that will save you time and help you teach well? Then visit my Teachers Pay Teachers store. I am always adding new Geometry resources. You’ll find some Algebra 1 and Algebra 2 resources there, too!
So, how can all these wonderful, colorful supplies be put to use in a Geometry class? Could this become one of your favorite tips for Geometry, too? Read on to see some great examples of how your students can use their beloved colored pencils, highlighters, or markers to drastically ramp up their participation and understanding of Geometry topics!
Then I say, “Angle 3 and angle 4 are on alternating sides of the red line and the exterior of the black lines. What do you suppose they are called?” After a short pause, “Alternate exterior angles?”, says the class.
I stumbled onto one my best tips for Geometry teachers in class one day. I wish I were one of those naturally gifted teachers whose best practices are as effortless as breathing. But, alas, I wasn’t one of those. My toolbox of useful teaching skills did indeed fill up, but it was thanks to the school of hard knocks. Year after year, I improved. Becoming an effective teacher, I discovered, happens when you commit to trial and error, grit, and loving it when your students are successful.
The study of Geometry is inherently a visual exercise. Since I started marking up diagrams with colors, I can say, without a doubt, kids just “get it” better and faster! Keep naming Geometry figures properly. Just enhance your names with colors and watch the difference it makes with your students! Never stop learning tips for Geometry teachers – your students will be more successful!
Geometry tipcalculator
How about this? Instead of showing the following diagram and saying, “The Segment Addition Postulate says the measure of segment PQ plus the measure segment QR is equal to the measure of segment PR”…
I’m sure you’re not one of those teachers! If you ask families to battle the back-to-school sales and spend their hard-earned money on school supplies, you follow through and make sure they get used! Right? (Nod your head up and down, please.)
An amazing opportunity for better communication and student engagement awaits because you have an abundant palette of colors at the ready.
This is a pretty straightforward proof. Should be easy enough to follow along. Yet some students will still struggle. Why not use some color to help them along?
Do this: Grab your virtual highlighter, mark up your diagram, and say, “The Segment Addition Postulate says the measure of blue segment PQ plus the measure of yellow segment QR is equal to the measure of green segment PR”.
Just like that, my students immediately knew which triangle I was talking about. And so began my love of one of my favorite tips for Geometry – using colors!
I am a retired high school math teacher. After taking a walk, enjoying my cup of tea and quiet time, I spend my days sharing tips and insights (from 27+ years in the classroom), or creating resources for teachers like you who love to save time, teach well, and be the teacher your students need! I live in the Dallas area with my husband.
When you were a kid, did you ever have a teacher who asked for colored pencils, markers, highlighters, etc. on their list of required school supplies? You bought your supplies (either out of duty or – for those of us nerdy school supply loving people – with sheer exhilaration). But sadly, the school supplies disappeared into a black hole of your backpack, only to be rediscovered in their battered and unopened boxes at the end of the year. Forgotten. Never used. Sad.
Geometry tiponline
Could you use some great anytime, no prep Geometry freebies? Fill out the form below and I’ll send them to you right away!
“Look at angles 5 and 6 on the same side of the green line and the interior of the black lines. They are called same side interior angles.” And on the lesson goes. I don’t remember exactly when I started using lines with color to teach angles formed by transversals, but since I did, the learning curve for students flattened and the time it took for mastery decreased dramatically! This practice has become one of my pro tips for Geometry teachers!
I don’t remember exactly when I started this practice, but I can imagine it happened something like this: I asked my students to look at “triangle ABC” which I had drawn with a black Vis-à-vis marker on the overhead projector. (I know I’ve lost most of my audience, but there are a few of you out there who know what I am talking about. Anybody remember the days of scrolling and erasing, scrolling and erasing? Or flipping transparencies over and over to get them to face the right way? Remember the arm of your dominant hand covered in ink? I once bumped into a student in the grocery store who said, “Oh! Hi, Mrs. Patterson! It’s you! I didn’t recognize you without your overhead projector. I thought it was permanently attached to your hip!”).
Anyway, back to “triangle ABC”. When I asked my students to look at it, all I saw was a sea of blank faces. In a moment of impromptu inspiration, I picked up the blue Vis-à-vis marker and shaded in triangle ABC and said, “Look at the blue triangle ABC.” Aha! Heads tilted, glazed-over eyes focused, and the sound of a subtle, collective “Oh” wafted by.
Before I continue, I want to remind you of the very real possibility that you could have a student in your class with color blindness. Please be aware and sensitive. There are easy practices you can seamlessly use to help students with color blindness as you try out this tip for Geometry. Read this helpful article from kidshealth.org for suggestions.
Tell the class, “Let’s prove orange triangle ABM congruent to blue triangle CBM using the SSS Postulate for congruent triangles. Every time we prove a pair of parts congruent, we’ll mark the diagram in red until we have enough congruent parts to guarantee congruent triangles.”
As you prove each pair of segments congruent, mark the diagram with red tick marks. Then, write a red “S” next to each corresponding statement in the body of the proof (anyone else thinking of Superman here?). In addition to each red tick mark on the diagram and each red S in the body of the proof, you can also highlight the 3 statements where you and your class proved sides congruent and highlight the SSS justification in the same color. This makes it very obvious, to those who had a little trouble following along, that the two triangles are congruent because of the SSS Postulate.
In the midst of the proof, you can say, “Segment AB, the longer side of the yellow triangle is congruent to segment BC, the longer side of the blue triangle.” And say, “Segment BM, the side shared by the yellow triangle and the blue triangle, is congruent to itself, etc…”
Rather than thinking, “Wait a second, slow down! Where is D? Where is E? Which triangle congruent to what????”, your students will think “Ah, yes teacher, I see.” You might even see some heads nod. You might get that “my-students-are-ready-to-move-on” feeling! (If you don’t recognize the feeling I’m talking about, you definitely know the “uh-oh-I-think-I’m-losing-them” feeling! Time for a do over!) It will be so much easier for your students to keep up when you refer to geometric figures with color!
Not saying I am old or anything, but my family did not own a color TV until I was a junior in high school. I still remember seeing “The Wizard of Oz” in color for the first time. When Dorothy walked out of her tornado ravaged home, into the land of Oz, I was stunned! I had no idea that Oz was in color! I thought it was like every other gray scale show I had grown up watching on a black and white TV. What a difference!
The days of white chalk on a green or black chalkboard, and overhead projectors with black and blue overhead pens are long gone. (I confess. I miss them.) They have been replaced with Smartboards, large screen TVs, and a plethora of digital learning platforms. And you know what they all have in common? Colors! Markers! Highlighters! “Magic” pens! All at your fingertips, a tap or click away!
Here’s a great tip to help students identify the parts of a conditional statement. A conditional statement has a hypothesis and a conclusion. Ask your students to highlight (or underline) the hypothesis with one color, and the conclusion with another color.
Perhaps one of my favorite uses of color is when I teach students about angles formed when a transversal intersects two (or more) other lines. Look at angle 1 and angle 2 in the diagram. When I want to teach students the name of the angle pair, I say, “Do you see how angle 1 and angle 2 are on alternating sides of the blue line and in the interior of the two black lines? These angles are called alternate interior angles.”
If you are a new teacher – hang in there! If you sincerely pursue excellence in the craft of teaching, you will get better every year!


 0086-813-8127573