
Remembering Kerry Harvey on her 27th Birthday - kerry harvey
Engraving allows for the creation of intricate designs on various surfaces. Many industries, such as jewelry making and manufacturing, use engraving for personalization and detailing. Learning to use a hand held engraving tool opens up numerous creative possibilities. These tools are compact and versatile, making them ideal for beginners. Mastering this skill can lead to beautiful, personalized projects.
A hand held engraving tool works on various materials. Common choices include wood, metal, and glass. Wood is soft and easy to engrave. Metal requires more precision and strength. Glass offers a smooth surface for detailed designs. Other materials like plastic and ceramics are also suitable for engraving.
Know what to do in case of an emergency. Keep a first aid kit nearby. Treat minor cuts and abrasions immediately. Seek medical attention for serious injuries. Have a fire extinguisher in your work area. Use it in case of a fire caused by sparks or overheating. Learn basic first aid and emergency procedures. This knowledge can save lives in critical situations.
Wholesale Steelsuppliers near me
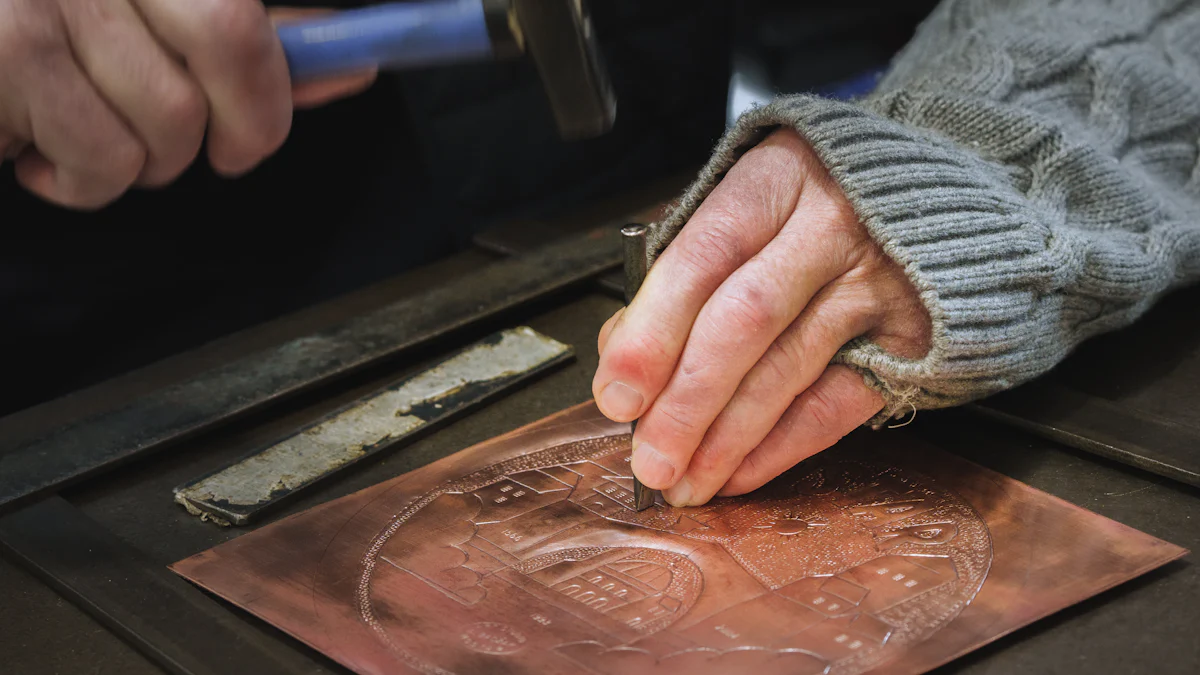
Choose a simple design for your first project. Draw the design on paper. Use a pencil for wood. Use a fine-tip marker for metal. Secure the material with clamps. This prevents movement. Transfer the design onto the material. Use carbon paper for tracing. Align the paper carefully. Trace over the design with a pencil. The design transfers onto the material.
Master Artist emphasizes, “An expert is needed to use the tool and engrave the design on the metal.” Proper setup and inspection are crucial steps in achieving expert-level results.
Hold the hand held engraving tool like a pen. Use your dominant hand for better control. Keep your fingers close to the tip. This grip offers precision. Maintain a relaxed but firm hold. Avoid gripping too tightly. A tight grip causes fatigue. Sit with a straight back. Keep your shoulders relaxed. Position your work at eye level. Good posture prevents strain.
Sheet metalsuppliers near me
Inspect the tool for defects or issues. Look for cracks or damage on the casing. Test the power switch. Ensure it turns on and off smoothly. Listen for unusual noises when running. Check the cord for fraying or exposed wires. Address any problems before use. A well-maintained tool performs better and lasts longer.
Always wear safety gear when using a hand held engraving tool. Gloves protect your hands from sharp bits and debris. Goggles shield your eyes from flying particles. A dust mask prevents inhalation of fine dust. Ear protection guards against loud noises from electric tools. Ensure all safety gear fits properly for maximum protection.
Control the hand held engraving tool with steady movements. Move your hand, not your wrist. Small, deliberate strokes work best. Apply consistent pressure. Too much pressure can damage the material. Practice on scrap pieces first. This helps build confidence. Precision comes with practice. Steve Lee, a master engraver, emphasizes continuous learning. He practices on challenging pieces. This improves his skills over time.
Begin with basic shapes. Draw circles, lines, and curves. Practice these shapes repeatedly. Move to more complex patterns. Try engraving letters or numbers. Use a stencil for guidance. Gradually increase difficulty. Practice shading techniques. Vary the pressure for different effects. Consistent practice improves skill.
Practice is essential for mastering a hand held engraving tool. Start with simple designs. Use scrap material for practice. This reduces waste. Practice helps understand tool behavior. Different materials react differently. Wood is softer than metal. Glass requires careful handling. Practice builds muscle memory. This leads to smoother lines.
Organize tools and materials before starting. Place the engraving tool within easy reach. Arrange bits and attachments in a tray. Keep safety gear like gloves and goggles nearby. Use containers for small items like screws and stencils. A tidy workspace enhances efficiency. It reduces the risk of accidents.
Anonymous Engraver shares, “The EnSet is the most efficient and pleasant to use of all of these methods that I have used to date. It is very relaxing and easy to learn without fighting to keep up with.” Advanced tools like the EnSet can enhance your engraving experience.
Safety is crucial when using a hand held engraving tool. Always wear gloves to protect your hands. Goggles shield your eyes from debris. A dust mask prevents inhalation of fine particles. Ear protection is necessary for loud tools. Ensure all safety gear fits properly.
Steve Lee emphasizes continuous improvement: “Every piece I engrave is a journey from planning to the finished article.” Embrace each project as an opportunity to learn and grow.
Handle the engraving tool with care. Hold it like a pen for better control. Use both hands for stability if needed. Start with a low speed setting. Gradually increase the speed as you gain confidence. Apply consistent pressure to avoid damaging the material. Turn off the tool when not in use. Unplug it before changing bits or making adjustments.
Metal suppliernear me
Expand your knowledge through various resources. Enroll in online courses for structured learning. Watch tutorial videos for visual guidance. Join engraving communities for support and inspiration. Read books and articles on engraving techniques. Attend workshops and seminars. Continuous learning improves your skills and keeps you updated with new trends.
Review the key points covered in this guide. Understand the importance of selecting the right tools and materials. Set up your workspace properly. Practice basic techniques and maintain safety measures.
Stay aware of common hazards during engraving. Keep your work area clean to prevent accidents. Secure your material with clamps to avoid movement. Never touch the engraving bit while it is running. Avoid loose clothing and tie back long hair. These can get caught in the tool. Always work in a well-lit and ventilated space. This reduces the risk of eye strain and inhalation of harmful particles.
Marking tools help outline designs before engraving. Pencils are ideal for sketching on wood. Stencils provide consistent patterns on various surfaces. Use masking tape to secure stencils in place. Fine-tip markers work well on metal and glass. Accurate marking ensures precise engraving.
When choosing a hand held engraving tool for beginners, consider several features. Look for adjustable speed settings. This feature allows control over the engraving process. A comfortable grip is essential for extended use. Lightweight tools reduce hand fatigue. Some tools come with built-in LED lights. These lights improve visibility on intricate designs. Durability and ease of use are also important factors.
Titanium suppliersby country
Titanium suppliers near meprices
Practice regularly to improve your skills. Experiment with different materials and designs. Each project offers a learning opportunity.
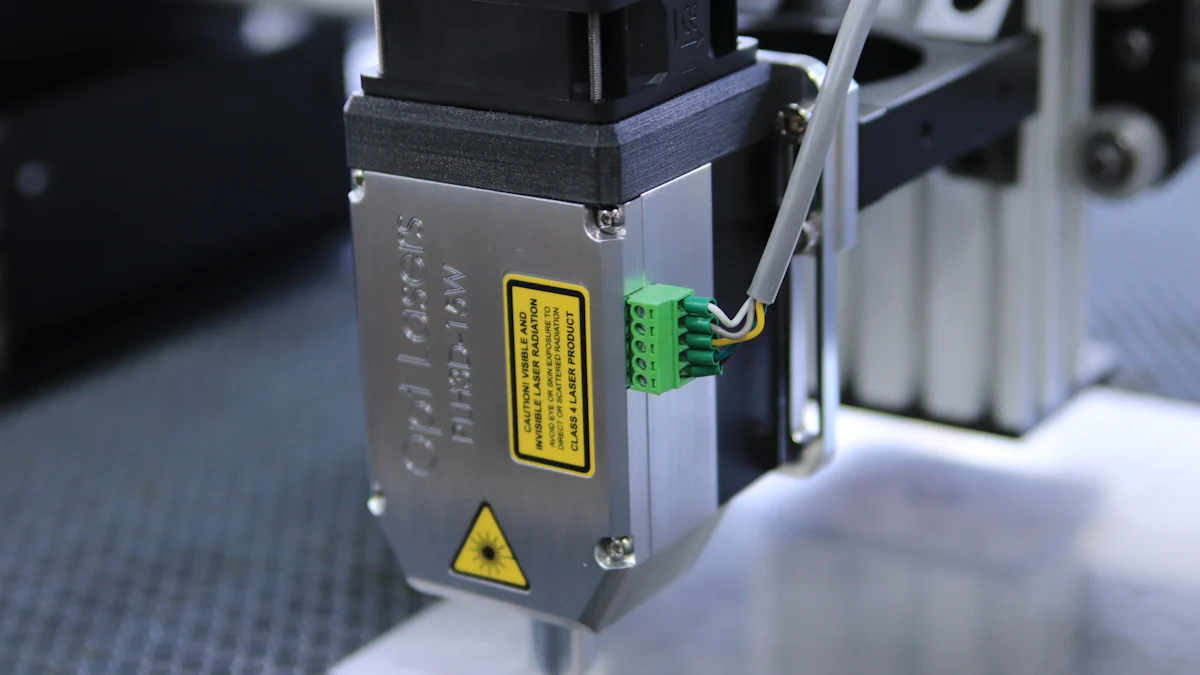
A hand held engraving tool comes in various types. The most common ones include electric engravers, pneumatic engravers, and manual gravers. Electric engravers use a motor to drive the engraving bit. Pneumatic engravers use compressed air for power. Manual gravers require hand pressure to carve designs. Each type offers unique benefits for different projects.
MetalsuppliersToronto
Once you master basic techniques, explore advanced methods. Try shading to add depth to designs. Use varying pressure for different effects. Experiment with cross-hatching for texture. Practice stippling for intricate details. Combine techniques for complex patterns. Advanced skills elevate your engraving projects.
Selecting the right material depends on the project. For beginners, wood is an excellent starting point. It is forgiving and easy to work with. Metal projects require more skill and patience. Glass projects need careful handling to avoid cracks. Consider the design complexity and material properties before starting.
Besttitanium suppliers near me
Share your experiences and ask questions. Join engraving communities for support. Continuous learning enhances your engraving journey.
SteelsuppliersOntario

Assemble the engraving tool according to the manual. Attach the engraving bit securely. Ensure the bit fits snugly. Tighten any screws or fasteners. Plug in the tool if it is electric. Check that all parts move freely. Proper assembly ensures smooth operation.
Regular cleaning keeps your hand held engraving tool in top condition. After each use, wipe the tool with a soft cloth. Remove dust and debris from the engraving bit. Use a small brush to clean hard-to-reach areas. Avoid using water or harsh chemicals. Store the tool in a dry place. Use a case or pouch for protection. Proper storage prevents damage and prolongs the tool’s life.
Steve Lee says, “Every piece I engrave is my favorite while I’m engraving it. Each piece is a journey from planning to the finished article, and I love those journeys!” Proper maintenance makes each engraving journey smooth and enjoyable.
Ensure the work area has adequate lighting. Bright light helps see intricate details clearly. Use a desk lamp with an adjustable arm for focused illumination. Natural light from windows also works well. Proper ventilation is essential. Open windows or use a fan to circulate air. This prevents inhalation of dust and fumes. A well-lit and ventilated space promotes safety and precision.
Perform regular maintenance checks on your engraving tool. Inspect the power cord for wear. Check the engraving bit for dullness. Replace worn-out bits promptly. Ensure all screws and fasteners are tight. Test the tool’s functionality before each use. Listen for unusual sounds. Address any issues immediately. Regular checks ensure safe and efficient operation.


 0086-813-8127573