
Turning insert - All industrial manufacturers - turning insert factory
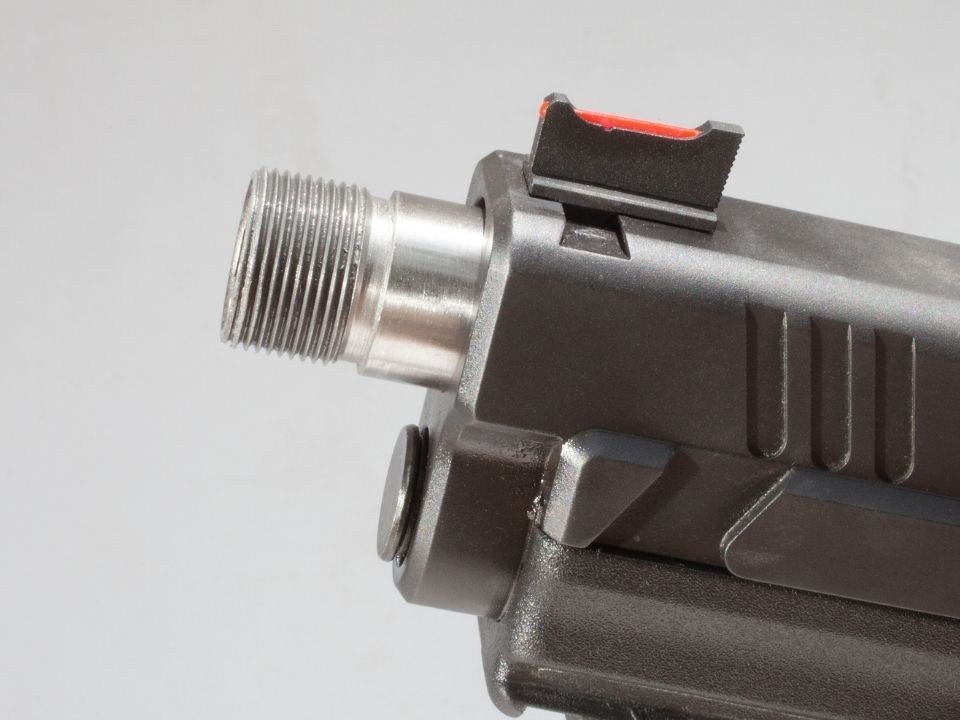
The final thing you need to attach to the barrel after threading, cleaning, and reassembling your firearm is the muzzle adapter. Ensure you lock it down properly with a notch or crush washer.
Information contained on this site is added on a regular basis. Due to the nature of the information posted, it becomes outdated rapidly. Users are therefore cautioned to independently verify the correctness of information contained on the website that may have become outdated. The info on our website is not legal advice and legal advice may only be provided by a properly licensed attorney. Visitors should always refer to the Product Guides on each respective Product Page to learn how our products are used.
After finishing cutting the threads, clean the barrel before assembling it. It helps eliminate any excess metal shavings or dirt that may accumulate in the firearm during the threading process.
Either twist your cutting tool to the left or right to align with the tread pitch direction. After every half turn, change the angle to remove the chopped metal chips and return to threading in the proper direction. Don’t be in a rush, do it slowly and steadily.
Determine the spindle speed (RPM) and feed rate (IPM) for a milling operation, as well as the cut time for a given cut length. Milling operations remove material by feeding a workpiece into a rotating cutting tool with sharp teeth, such as an end mill or face mill. Calculations use the desired tool diameter, number of teeth, cutting speed, and cutting feed, which should be chosen based on the specific cutting conditions, including the workpiece material and tool material. Learn more about Milling.
Failure to clean barrel may cause damage to the threads. The metal chips can also interfere with the barrel rifling, affecting its accuracy, velocity, and trajectory.
The barrel threading process can be a bit longer and requires more precision when cutting the barrel threads. Any minor kink in your thread pitch can cause damage to your entire firearm. Thus, be patient and cautious enough to ensure you get everything right. Besides, ensure you unload it to avoid getting hurt accidentally during the barrel threading process.
As you continue to cut the barrel threads, ensure you pause to get rid of the extra metal shavings created during the threading process. Also, exercise cleanness around the cutting area.
Premier Distributor of High Grade Solvent Trap Cleaning Kits, Storage Tube Solutions, Solvent Trap Parts, Accessories and More!
You need to ensure that the cutting tool is at the exact center of the barrel. Positioning your cutting tool at the center enables your muzzle devices to fit safely. It also minimizes damage and breakage of the barrel threads. Ensure all your firearm components are well-lubricated before commencing the process.
When you rush the threading process, you increase the chances of making mistakes. Do it slowly and accurately for quality results.
When threading your barrel, you first need to determine the thread pitch type to use on your barrel. Each firearm uses a specific thread pitch that goes hand-in-hand with the firearm’s style, size, and caliber. Know your muzzle device’s bore diameter or caliber before ordering a thread protector.
Solvent traps are firearm cleaning accessories, and not NFA items. Solvent traps can be purchased legally without a Form 1. However, you cannot modify, alter or redesign them into a device for silencing, muffling or diminishing the report of a firearm without first filing & receiving back from BATFE, an approved Form 1. Please be aware of the restrictions and regulations, and those within the state you reside.
Once you finish the entire barrel threading process, use a thread protector to close or mask the screw threads for the following reasons.
We’ll delve deeper into barrel threading and the things you need to consider while threading your barrel. We will further help you understand the DIY barrel threading process.
Always use a paintbrush instead of an airbrush when removing the metal shavings that develop during the cutting process. A paintbrush will prevent the metal chips from getting into your eyes and causing permanent injuries.
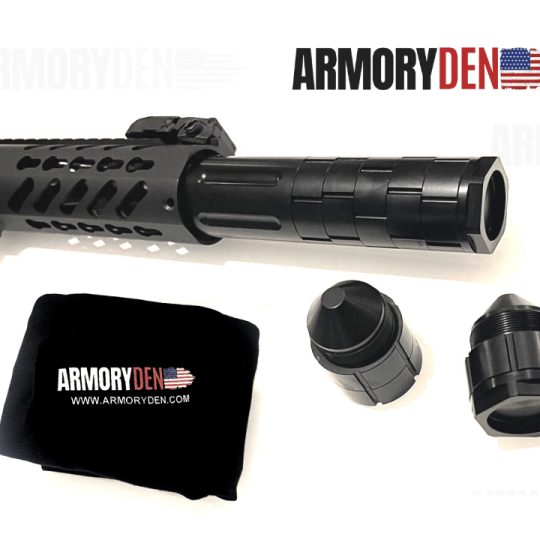
Knowing how to thread a barrel is a vital skill every firearm enthusiast needs to learn. The threading process is simple but requires more precision, caution, and patience to ensure you do not miss anything. And to ensure you give your threaded barrel maximum protection, get a powerful yet lightweight thread protector. Consider visiting armoryden.com to see the various thread protector options available.
Whether you’ve just bought a new firearm or used the old one, threading its barrel is key to enhancing its performance. You can choose to get the DIY threading kit or call in an expert to help you with the threading process. Whichever way, ensure you protect your threaded barrel with a thread protector to keep it intact for the longest time.
Repeating the process to get about three to four complete cuts gives you a solid start or a good base for working. Note that any mistake during the cutting process can affect your firearm’s performance and integrity.
Once you have acquired your ideal cuts, put the guide aside as you will no longer need it. After that, proceed to cut the barrel threads.
You must ensure all firearm parts are lubricated and oiled throughout the threading process. It minimizes damage to the barrel during the threading process as the cutting tool can easily chip in without proper lubrication.


 0086-813-8127573